
A clean PC is a happy PC — neglecting regular maintenance can lead to overheating, slower performance and potential hardware failure. Keeping your system free from dust and debris is essential for optimal efficiency and longevity. Regular cleaning is crucial to keeping your system running efficiently and extending its lifespan.
In this guide, we’ll show you how to clean inside of your PC step-by-step, covering everything from removing dust in fans to maintaining keyboards and screens. With these tips, you can keep your hardware performing at its best for years to come.
Tools and Products You’ll Need
Before you start cleaning your PC, gather the right tools and products to ensure a safe and effective process. Here’s what you’ll need:
- Compressed air or air blower: Use one specifically designed for electronics to avoid condensation from standard compressed air
- Soft, lint-free or microfiber cloth: Ideal for wiping down surfaces without scratching them
- Isopropyl alcohol (at least 90% purity): Perfect for removing grime from non-conductive components
- Small, soft brush: A makeup or paintbrush works well for clearing dust from tight spaces
- Anti-static wrist strap (optional but recommended): Prevents accidental static discharge that could harm your components
- Vacuum cleaner with anti-static attachment: Use this only for cleaning the PC’s exterior
- Screwdriver: Needed to open your PC case
- Tweezers: Handy for removing stubborn dust clumps in hard-to-reach areas
How to Clean Computer Hardware
Cleaning your computer’s personal data or hardware requires careful preparation and attention to detail to avoid damage. In this section, we’ll guide you through the process, from powering down your PC to cleaning individual components safely and effectively.
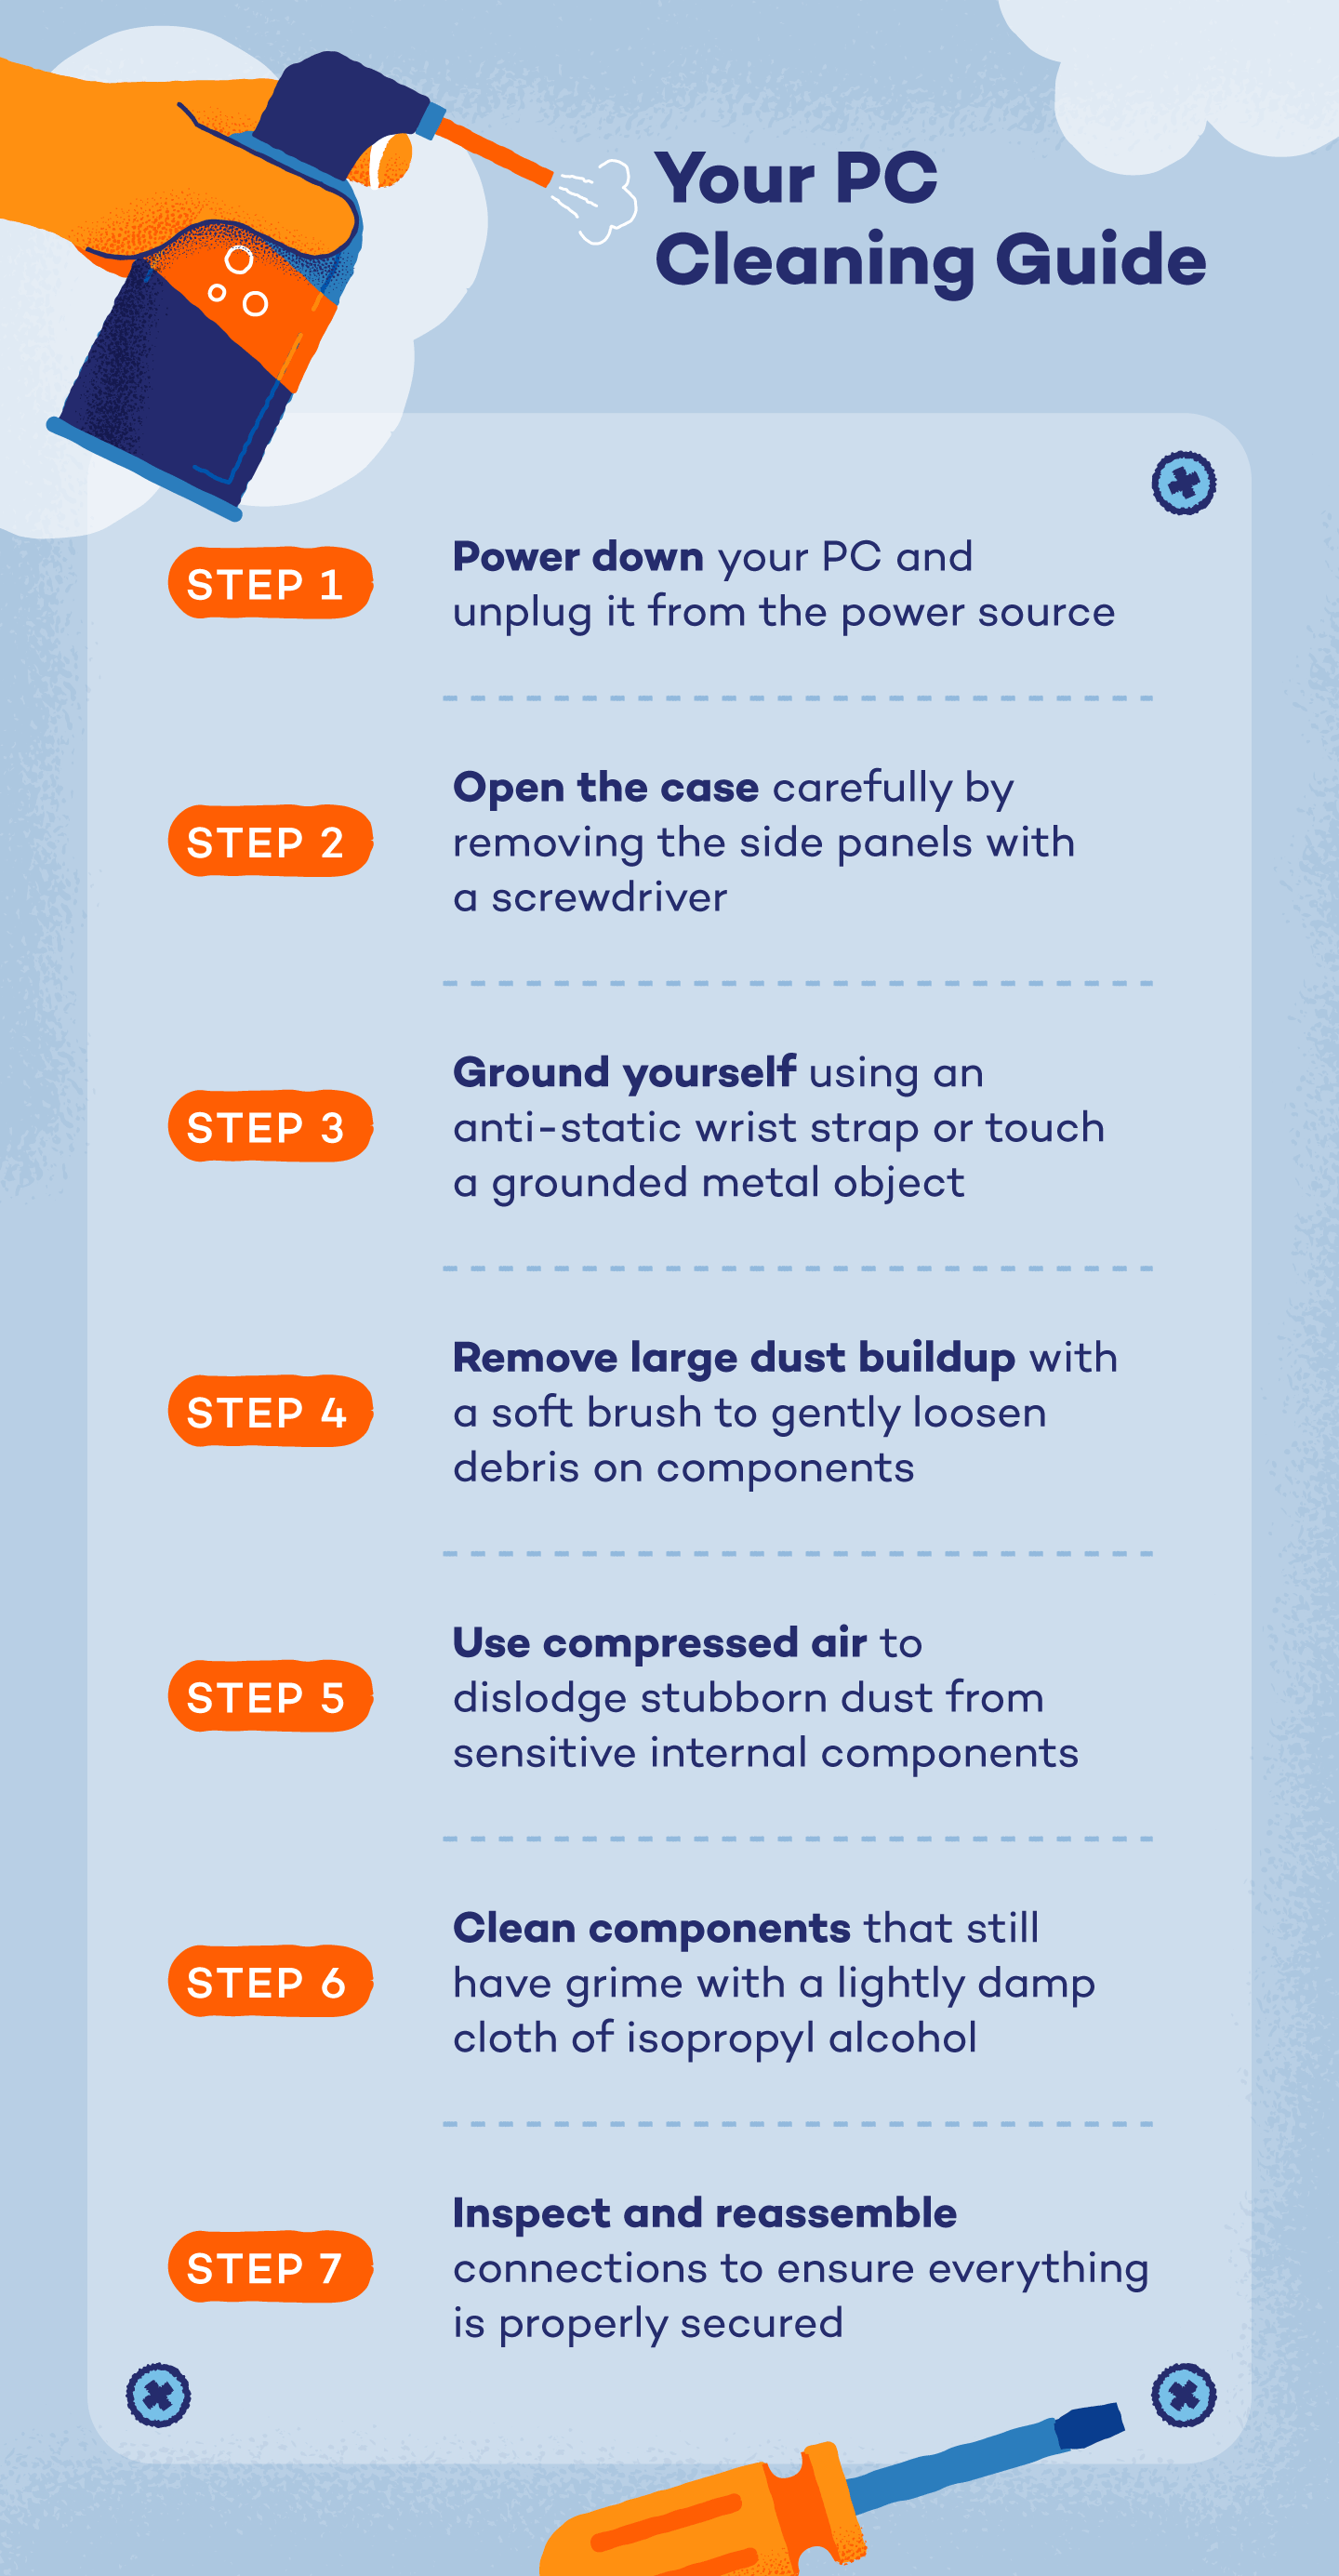
1. Power Down and Unplug
Before cleaning, always turn off your PC and unplug it from the power source. This step is crucial to ensure your safety and protect your hardware from electrical damage. Once unplugged, press and hold the power button for a few seconds to discharge any residual electricity from the system.
If you’re working on a desktop, detach any peripheral devices like monitors, keyboards and mice to make handling easier. For extra safety, consider using an anti-static wrist strap to prevent static discharge, which can damage sensitive components. With your PC fully shut down and prepped, you’re ready to begin cleaning.
2. Open the Case
To access your PC’s internal components, carefully remove the side panel(s) of the case. Use a screwdriver to unscrew any fasteners, and refer to your case manual if you’re unsure how to proceed. Most cases have thumb screws or head screws, which are easy to remove. Place the screws in a safe spot to avoid losing them.
As you open the case, take precautions to prevent static discharge. If you’re using an anti-static wrist strap, secure it to your wrist and attach the other end to an unpainted metal part of the case. Handle the case and components gently to avoid damaging delicate hardware. With the case open, you’re ready to start cleaning the internal components.
3. Ground Yourself
Static electricity can damage your PC’s sensitive internal components, so grounding yourself is an essential step before cleaning. The easiest way to do this is by wearing an anti-static wrist strap.
If you don’t have an anti-static wrist strap, frequently touch a grounded metal object during the cleaning process, like a desk frame or a metal part of the PC case. Avoid working on your PC in environments prone to static buildup, such as areas with carpets. Staying grounded will help protect your PC’s components and give you peace of mind as you clean.
4. Remove Large Dust Buildup
Start by tackling visible dust buildup on components like fans, vents, PC power plugs and heatsinks. Use a soft brush, such as a makeup or paintbrush, to gently loosen dust from these areas. Brush in light, sweeping motions to avoid pressing debris into crevices. This is especially useful for clearing dust from fan blades and heatsink fins, where buildup can impede airflow and lead to overheating.
Avoid using the brush directly on sensitive components like the motherboard, RAM or graphics card. For these areas, it’s better to rely on compressed air or an air blower designed for electronics. Keep the brush strokes controlled and confined to non-delicate surfaces to ensure your PC components remain safe while effectively removing large dust particles.
5. Use Compressed Air
Compressed air is one of the safest and most effective tools for dislodging stubborn dust from your PC’s internal components. Always use a can specifically designed for electronics — regular air compressors can produce condensation, which may damage your hardware. Hold the can upright and spray in short bursts to avoid expelling liquid onto sensitive parts. Never tilt or shake the can while using it.
- Fans: Hold the fan blades steady with your finger or a soft tool to prevent them from spinning while you clean. Use short bursts of air to clear dust from each blade and the surrounding housing.
- CPU and GPU heatsinks: Aim compressed air into the fins of the heatsinks to remove debris that impedes cooling. Work carefully to avoid bending the fins.
- Power supply unit (PSU): Blow air through the PSU’s external vents. Avoid opening the PSU itself, as its internal components can retain dangerous electrical charges even when unplugged.
- Storage and RAM slots: Use air to clear out dust from empty storage bays and RAM slots. Be gentle to avoid damaging the connectors.
6. Clean Components With a Damp Cloth
After removing the bulk of the dust, it’s time to clean the components with a damp cloth. Use a cloth lightly dampened with isopropyl alcohol to wipe down fan blades and other surfaces that may have stubborn grime. Make sure to avoid excessive moisture that could drip into sensitive areas. It’s best to wipe the blades gently after you’ve already loosened dust with compressed air, as this prevents pushing dirt deeper into the fans.
- Fans and blades: Use a damp cloth with isopropyl alcohol to gently wipe down the blades after dusting them off with compressed air. Be careful not to let moisture drip into the fan mechanism.
- Case vents and filters: If your case has removable filters, take them out and rinse them with water to clear any remaining dust. Allow the filters to dry completely before reinstalling them to prevent moisture from affecting your PC.
- Cables and connections: Wipe cables gently with a dry cloth to remove any dust or dirt without disturbing connections. Avoid using a damp cloth on cables, as you risk moisture getting into the connectors.
7. Inspect and Reassemble
Once you’ve finished cleaning, it’s time to inspect all your connections to ensure everything is properly secured. Check that components like RAM, GPUs and storage drives are firmly seated in their slots. A loose connection can lead to instability or hardware malfunctions or problems, so gently press on any parts that may have come slightly undone during cleaning.
After confirming everything is in place, reattach the side panel of your case. Make sure all screws are tightened securely before plugging the system back in. Once reassembled, power on your PC and check for proper functionality, ensuring everything is running smoothly. This final step will ensure your PC is safe and functional.
8. Test Everything
After reassembling your PC, it’s important to test everything to ensure your system works as expected. Power on your PC and check that all components — such as the monitor, keyboard and mouse—are functioning correctly. Pay attention to any unusual noises or error messages that might indicate something was missed during cleaning.
Additionally, consider placing your PC in a clean, well-ventilated area to help minimize future dust buildup. This will improve airflow and reduce the chances of overheating. A dust-free environment can extend the life of your components and help maintain optimal PC performance over time.
How to Clean Computer Software
Just like your PC’s hardware, maintaining its software is essential for optimal performance. Over time, software can accumulate unnecessary files, outdated programs and even malware, which can slow down your system and cause potential issues. Cleaning up your software ensures your PC runs efficiently and securely. Here are a few key tips for keeping your computer’s software in top shape:
- Back up your hard drives: Regular backups protect your data in case of unexpected failures.
- Install antivirus software: A reliable antivirus program shields your PC from malware and other security threats.
- Update your software and programs: Keeping your software up-to-date ensures you benefit from the latest features and security patches.
- Declutter your software programs: Remove unnecessary programs and files to free up storage space and improve performance.
- Clean your Windows registry: Regularly clean your Windows registry to remove invalid entries that can slow down your system.
- Use a computer cleaning tool: Tools like Panda Cloud Cleaner help clean up junk files, system logs and temporary data to improve speed.
- Clear your cookies and cache: Clearing browser cookies and cache regularly can help protect your privacy and speed up your computer.
Why You Should Regularly Clean Your PC
Regularly cleaning your PC is crucial for maintaining the health and performance of its components. Here are some key reasons why cleaning your PC should be part of your maintenance routine:
- Prevents overheating: Dust can clog fans and heatsinks, obstructing airflow and causing your PC to overheat, potentially damaging sensitive components.
- Improves performance: A clean system runs more efficiently, with proper airflow and less risk of thermal throttling, ensuring faster and smoother performance.
- Increases hardware longevity: Regular cleaning reduces the chances of wear and tear caused by dust.
Keep Your PC Clean and Secure With Panda Security
While cleaning your PC’s hardware ensures optimal performance, safeguarding it from digital threats is just as important for maintaining its overall health. Panda Security’s antivirus and cybersecurity tools are designed to protect your PC from malware, viruses and online attacks, complementing the physical maintenance of your system. By combining regular cleaning with robust cybersecurity, you can ensure that your PC stays both efficient and secure.
Take the next step in securing your system by exploring Panda Security’s comprehensive solutions. With Panda Dome Complete, you can enjoy peace of mind knowing your PC is safe from digital threats, allowing you to focus on using your device without worry.
FAQ
How Often Should I Clean the Inside of My PC?
It’s recommended to clean the inside of your PC every three to six months. However, the frequency may vary depending on your environment. If you live in a dusty area, have pets or use your PC in an environment with higher levels of air pollution, cleaning more often is advisable. Dust buildup can clog fans, block airflow and contribute to overheating, all of which can harm your PC’s performance and lifespan.
Can I Use Regular Air Compressors to Clean My PC?
No, it’s not safe to use regular air compressors to clean your PC. While they can remove dust, they often release condensation, which can damage sensitive components inside your PC, such as the motherboard and power supply. To safely clean your PC, always use a can of compressed air designed for electronics.
Does Cleaning My PC Improve Its Performance?
Yes, cleaning your PC can significantly improve its performance. Dust buildup can block airflow, making it harder for your PC to stay cool, which may lead to thermal throttling and overheating. Over time, dust can also accumulate on your system’s fans, heatsinks and other cooling components, reducing their effectiveness.
Panda Security specializes in the development of endpoint security products and is part of the WatchGuard portfolio of IT security solutions. Initially focused on the development of antivirus software, the company has since expanded its line of business to advanced cyber-security services with technology for preventing cyber-crime.
You May also Like


Panda Free Antivitus

FREE TECHNICAL SUPPORT

5 comments
Bravo
Thanks Iraqi!
Kind regards,
Panda Security.
Using a vacuum on your pc is a well known way to destroy it with static discharge.
you say paintbrush. What kind.
nevermind. it was talking about keyboards. Not inside the PC.